Sunday, August 18, 2013

Pyrrus Vs Rome

Greetings to all who join us here.
Well Saturday Mike hosted another game in his summer series of Ancient Battles.
This time we had, as the title states, Pyrrus vs Rome. As always we use the original Tactica rules modified to fit our needs and wants.

The armies were made up of the following forces:
Pyrrus - Bill, Wendell and Phil
6 pike units of 32 figures each.
4 spear armed heavy infantry of 24 figures each
2 light infantry units of 12 figures each
2 light cavalry units of 12 figures each
2 heavy cavalry units of 24 figures each
1 elephant unit with 3 elephants

Rome - Ken, Larry and myself
10 cohorts of 24 figures each
2 triarii of 32 figures each
2 light infantry of 12 figures each
2 light cavalry units of 12 figures each
2 heavy cavalry units of 24 figures each

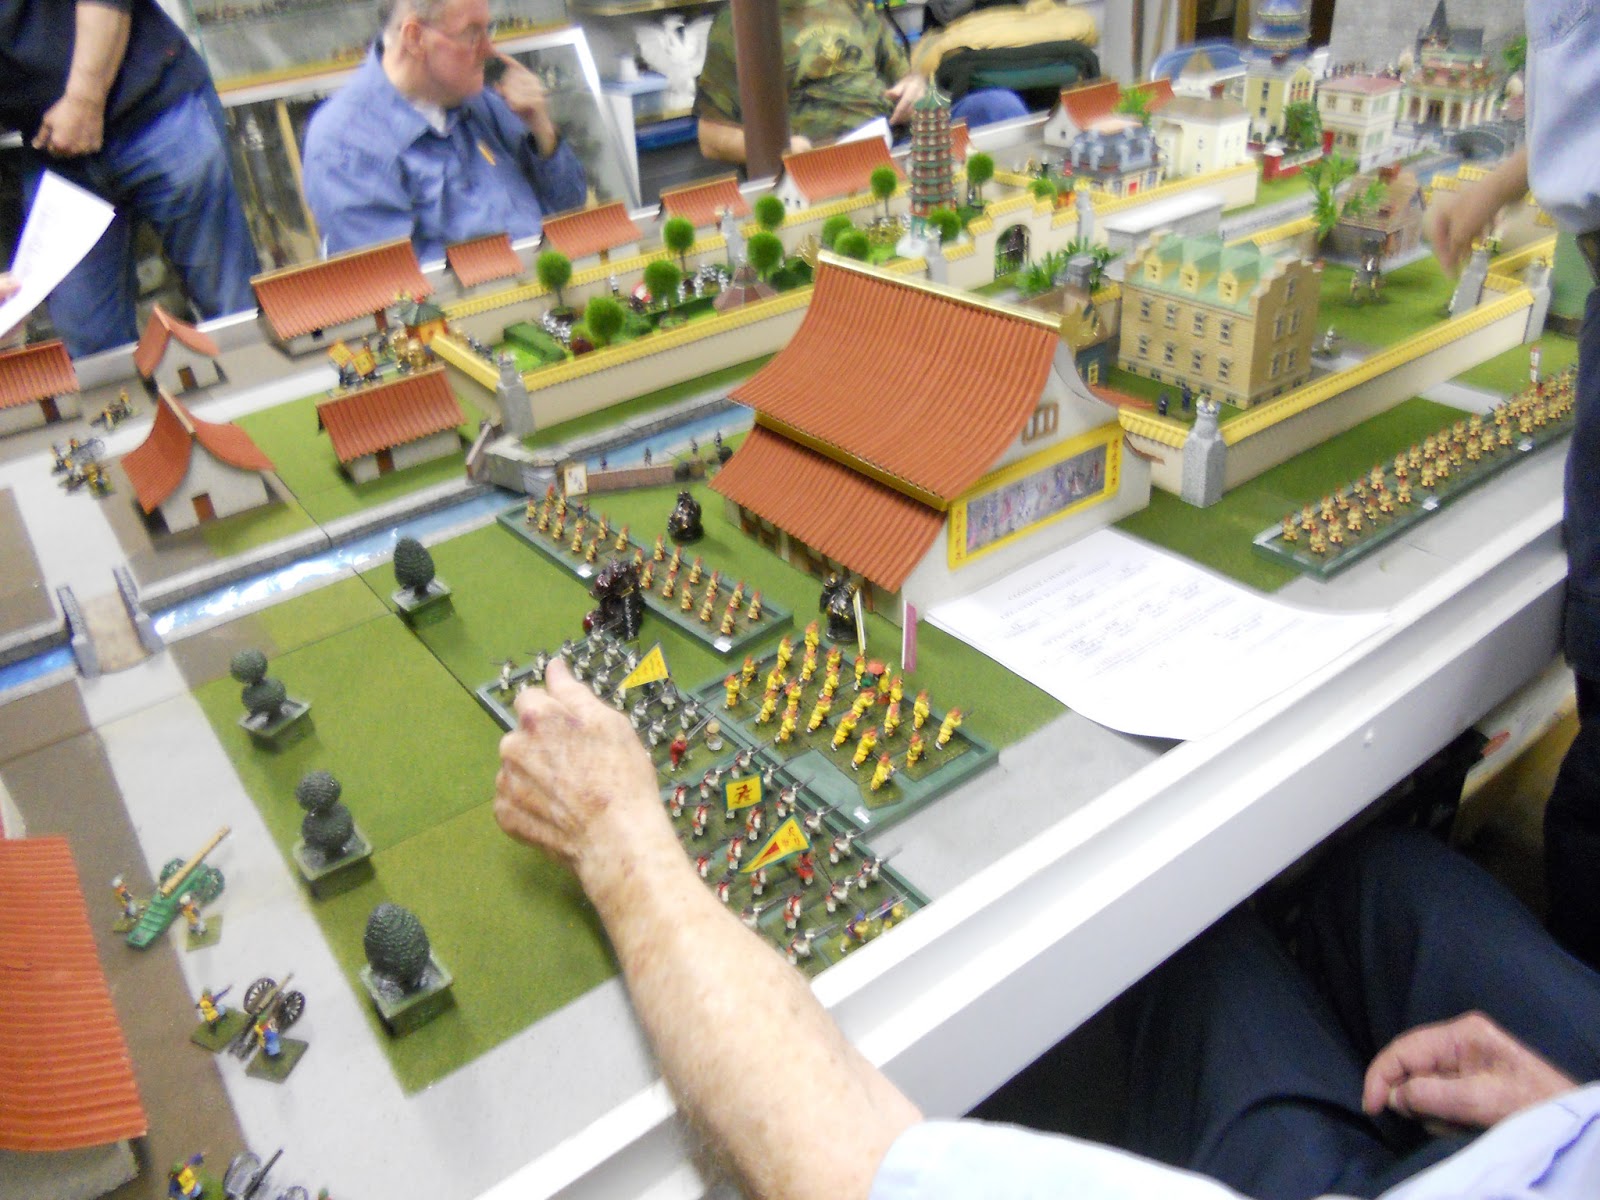
These armies faced off against each other with these staring deployments.
Rome above, as viewed from the right flank.


 Pyrrus above. The first picture is their right flank as seen by the Romans and the second picture is their left flank as seen by the Romans.
We can see that there will be some exciting cavalry action on the Roman right flank!

The army of Pyrrus made the opening move and in a very  uncharacteristic way. They advanced their entire line forward, deployed for action and thirsting for the blood of their Roman enemies!

Rome on the other hand, stood their ground in the center and advanced both flanks to meet the enemy.

 The Roman light infantry engaged the elephants in a spirited melee but received the worst of it and left the game.
Below we can see the Roman left flank engaging the Pyrrhic right flank with the goal of destroying enough units here to turn the flank.
Meanwhile on the Roman right, a great cavalry battle is occurring with the enemy determined to turn the Roman right flank.
Next turn, the great general of Pyrrus ordered his pike to charge and engage the Roman heavy infantry in melee as the cavalry battle still rages on.

Almost at the same time, the Romans and their foes, turn each others opposite flanks. Desperate times are upon us now.


 But even the loss of two of the center cohorts can not prevent the route of the entire army of Pyrrus. They have lost too heavily on their right flank and even as their cavalry is nearing victory, the rest of the army leaves the field of battle.
There will be no Pyrrhic victory today.

We all want to thank Mike for being a gracious and accommodating host as well as for letting us game with his outstanding figures. As a note, Mike had some figures in this game acquired from Lord Raglan. These are just spectacular!! Great job Mr. Raglan.
Also a special thanks to all of our group who as always had a fine time gaming and socializing.

Finally a little more eye candy.

Take care and good gaming,
Greg


Sunday, July 14, 2013

Seleucids vs Ptolemy the battle of Raphia

We had another exciting game at Mikes house yesterday and a fun time was had by all. we had the perfect number of gamers for this event. Six in all. Mike, our host, Wendel and Ken who were the generals for the forces of Ptolemy. And Bill, Larry and myself who were the generals for the Seleucid army.

I would like to note that this game was inspired by 'The Big Red Bat' and historical events on or about 22 June 217B.C.

Here are the armies in their initial deployment.
 The picture above shows the Seleucid army on the left and the Ptolemaic army on the right. The picture below, show the setup from the other end of the battlefield.

The Ptolemaic forces were going to crush both Seleucid flanks and roll up the center from each end. The Seleucid generals were planing to smash the Ptolemaic left flank and then roll up their main line while fighting a delaying action on their left.

the three pictures below show the initial move withe the Seleucid army at the bottom and moving from their left flank to the right. Note that at this time each side is initiating their plans. There is movement on all flanks but very little if any activity in the center.


Over the next two turns, a kind of stand off developed on the Seleucid left flank while massive cavalry actions were happening on their right flank.


 You can see the amount of resources committed by each side in these pictures. In the foreground you have Ptolemaic light cavalry vs Seleucid heavy cavalry. in the middle we see two units of medium infantry engaged withe elephants supporting the Ptolemaic unit. And in the upper right there is again heavy cavalry vs light cavalry but with infantry support.


 Please note that the dice behind the units represent casualties. In the above picture the troops in white in the foreground are near the point where they will need to make a moral check. Just two more casualties will do it.

The result of this epic conflict was the Seleucid units smashing all opposition and clearing their right flank, just as planned.

 Meanwhile on the left, the Seleucid elephants drive into the Ptolemaic cavalry.


 Sadly the elephant attack was easily beaten off by the heavy cavalry.
But eventually the Seleucid's prevented the Ptolemaic army from wining on this flank also but at a great loss.

 Now was the time for the decisive move! With both flanks destroyed or damaged, the Ptolemaic army knew they could only win if they could defeat the Seleucid's in a frontal attack. The Seleucid commanders had been very cunning and held back their heavy infantry, waiting for the flanks to fail so they could launch a powerful attack in the center while enveloping one flank or the other.


In the ensuing melee, lasting over many turns, the Seleucid's were slowly but surely beating down their Ptolemaic rivals. Unit after unit of Ptolemaic heavy infantry retreat from the battle. But in the final turn when all seemed lost, Mike rides up to his troops and joins in the fight. Better to die a hero that to return home in defeat. Encouraged by their leaders bravery and strength, the troops manage to turn the tables and snatch victory from the jaws of defeat!

Thanks to Mike and also to all who attended this game and helped to make it another special event. And as always, I have more pictures of Mikes wonderful figures.


Impressive is it not?
Good gaming.
Greg


Sunday, May 26, 2013

Finaly - We play the game!

Greetings to all who take the time to visit this site and I hope that you will enjoy this report on our game about the siege at Peking in 1900.

Our group of gamers gathered on more than one occasion to work out rules that would allow for a fair number of players yet not take forever to play a game. What transpired was that we found we needed two sets of rules. One set was rather long and detailed. These became a a set of rules suitable for a campaign game and were set aside for our first game.More on these later. The second set governed a straight up battle between the Legation Forces and the Chinese. This set was designed for a fast play and contained less detail about the siege itself. These were meant to depict the last assault by the Chinese forces in one day just prior to the relief of the Legations.

Our game was held on Friday May 24th. Assembled for the conflict were all the members of our regular group plus our special guests, the Mid-America Wargamers. In all we had 12 gamers present.

Here are some pictures of the game as we are about to start.
And here are our players. First the Legation commanders.
And next the Chinese.
Others present were Mike, our commentator and political whip, Wendell who assisted in running the game by manning the Hospital, my son Gregory who was the impartial observer and myself.

The rules we used are as follows:
Peking - How I spent my summer vacation.
The final days.


The table is divided into 4 combat zones. 

Zone 1 = SW                      Zone 3 = NE
Zone 2 = NW                     Zone 4 = SE


Turn sequence:
1. Legation Forces recovery phase.

2. Assign troops to combat zones. Chinese assign their forces first and then the Legation forces after the Chinese.

3. Fire combat

4. Assaults


Movement:
Movement is unlimited on the table for each side with the following restrictions.
Legation forces can move inside the Legation’s fortifications.
Chinese forces can move outside the Legation fortifications.


Recovery:
1 = dies from wounds.
2-4 = still recovering. Must stay in the British Legation compound.
5-6 = recovered and returns to duty.


Ranged Combat:


Legation forces roll 1 die for each figure in combat.
1-2 = 0 casualty point.
3-4 = 1 casualty points
5-6 = 2 casualty points

Effect of casualties in a single  combat.
1 - 12 = no effect
13 - 20 = drive off ¼ of attacking force
21 - 45 = drive off ½ of attacking force
46 - 60 = drive off ¾ of attacking force
60+ = drive off entire attacking force

Legation forces roll first and surviving Chinese roll their attack second.

Total up Chinese troops in each players command that are attacking.
Divide this number by 5 and round down.
This is how many dice the Chinese player will roll.
1-3 = miss
4-5 = wounded
6 = roll again - 6 - kills

Wounded Legation forces are sent to the Hospital in the British Legation. During the recovery phase, they may be recovered enough to return to their posts.


Artillery , Cannon , Guns and Machine guns.
Artillery and heavy weapons in the game are as follows.

Weapon Type    Dice    Special Rules
Krupp Gun    5   
Muzzle Loaded Smooth Bore    2   
1lb Quick Fire     4    Must roll each turn to see if ammunition is available. 1-2 = no ammunition is available
Colt / Maxim Machine Guns    6 / 3    6 dice against troops in the open and 3 dice against troops behind walls or barricades.
Nordenfeldt Machine gun    4    Must roll before firing to check for gun jams. 1-3 = jam and may not fire.
International Gun ‘Betsy’    4    Roll 2D6 each turn fired - 12 = breach explodes. Crew wounded


Assaults:

Total the number of attacking Chinese not driven off by the Legation troops fire. Divide this by 3 and round down. This is the number of dice rolled by the assaulting Chinese. They will always roll a minimum of 1 die.
Assault results:

1-2 = no casualty
3-4 = wounded
5-6 = killed

Boxers divide by 2 to calculate assault dice instead of 3 like Imperial Troops.

Boxers can not fire in the Ranged Combat phase and can only assault.


Turn one involved very little movement of the Chinese forces and they attempted to attack the Legations on all fronts. Casualties were caused and assaults were driven off. For the most part, this turn caused little consternation among the commanders of each side as everyone was learning the rules.

Turns two and three though saw an increasing alarm spread throughout the Legations. Casualties were mounting at an alarming rate and the Hospital staff had a knack of killing almost as many troops as they cured.
The Chinese also started to change from a general attack on all sectors to concentrating troops and guns into two or three sectors per turn.
Here you can see an attack on the Fu.

And here are some pictures during turns three and four.


Turn five saw a radical change in the game plans for the Legation forces. Faced with increasing casualties, both on the field and in the Hospital, they decided to abandon two sections of the defence and concentrate on retaining only the sector to the left of the canal when viewed from the wall. They hoped that this concentration of force would hold the Chinese at bay while relief was on its way.
On turn six the Legation forces fell back to the British Legation for the last stand.

The Legation forces were able to keep back the Chinese final assault but by the end of the game they had suffered horrific casualties.
Legation forces remaining in the British compound at the end of the game - 44 figures
Legation forces remaining in the Hospital at the end of the game - 62 figures
Legation forces KIA during the game - 116 figures
The game was a Legation victory as they did survive the Chinese onslaught but at a tremendous cost.

All had a fun time and the rules were a success as we finished playing this in under four hours.

Just a few statistics pertaining to the game.
Number of total figures in play - 720
Most of the terrain is foam core and blue foam.
Figures used are from: Foundry, Frontier, Falcon, Rafm and Old Glory.
Much of the fences and some walls are accumulated from various Christmas Village manufacturers.
Chinese style walls are made from foam core, wallpaper and corrugated cardboard.
Time involved in this project: 25 years. (well not continually, I do have a life you know)

As for the campaign game. This would involve a greater amount of detail.
During the siege, there were really only 5 or 6 major attempts to storm the perimeter. Most of the time the Chinese would expend tens of thousands of rounds of small arms ammunition in a continuous barrage towards the Legations. Most of these rounds fell harmlessly in and around the Legation perimeter causing more fear that actually inflicting and casualties although with this much fire, the odds are that someone or something will eventually get hit.
The campaign game would be based on the times that the Chinese actually tried to attack the Legation Perimeter. The rules involve some figures that were not used in this game. Namely about 50 figures of Chinese civilians and about 20 figures of Western women. These figures are used to assist in putting out fires and rebuilding barricades.
So in addition to the general attacks and gunfire, the campaign game will include starting fires, putting out fires, overrunning barricades, destroying barricades, rebuilding barricades and much more detail on troops recovering to return to the fight. In addition there will be rules for supplies and a series of cards based on actual events that can influence the game as these events did in 1900.

Well I do hope that everyone has enjoyed this little entertainment. It was very enjoyable for myself and I am very  pleased that the gamers were entertained and seemed to have as much fun playing as I had presenting this game.
Good gaming and as always all comments are welcome. I will also try my very best to respond to any questions on this project.
Greg