Greetings to all who gather here.
We had another Flames of War game on Sunday. This was the early war in North Africa, British vs Italian.
The British players commanded an Armoured Regiment of about 2500 points. Wendel and Bill were the two British commanders. Bill was in charge of the British right flank and Wendel was in charge of the left flank.
The Italian players fielded a Bersaglieri Company of about 1925 points. Greg Jr., Eric and Greg Sr. (myself) commanded the Italian forces. Eric commanded the Italian right flank with the second in command while Gregory commanded the left flank as overall commander and I handled the mobile forces.
The scenario was a free for all and the British were the attackers as they were armoured and the Italians were an infantry company. Our table had sparse terrain as we were trying to portray the desert area of Lybia near the Egyptian border. There was a village on the Italian left flank with a wadi running across the center of the table.
Here is a rundown of the forces involved:
British - Tank Regiment
Regimental HQ - 4 A-10 tanks
Heavy Cruiser company - 2 platoons of A-13 tanks with 3 tanks in each platoon
Light Cruiser company - HQ platoon with 1 A-10 tank and 2 A-9 tanks and 2 companies of 3 A-9 tanks each
Light Armoured company - 3 platoons of MkIV tanks 4 in the HQ platoon and 3 tanks in each of the other platoons
Anti Tank Platoon - 2 25lb guns in portee
Royal Horse Artillery Troop - 4 25lb guns
Italians - Bersaglieri Company
HQ with attached Solothurn A/T rifle
2 platoons of Bersaglieri infantry upgraded to Rifle/MG teams
Bersaglieri MG platoon
Bersaglieri A/T platoon with 3 47mm A/T guns
Bersaglieri Mortar platoon with 3 tubes
Cari Platoon of 5 M13/40 medium tanks
Medium Tank platoon with 5 M11/39 tanks
Demolisher Platoon
Cannon Battery - 4 75/27 guns with observer
Howitzer Battery - 4 105/28 guns with observer
A/T platoon - 4 47mm A/T guns
Light AA platoon - 2 20/65 guns portee
Limited air support - Fiat Falco with bombs
The British had the first move and used it to cover their advance into a small village on their right flank. They also fired the Royal Horse artillery in an effort to suppress the Italian Guns on that flank. This was part of their overall strategy to sweep the Italian left flank and take the objective that was there. The British fire was ineffective.
The Italians tried to dig in their infantry and man packed guns on their first turn as the British had not presented any targets for them. The Italian strategy for this game was to present as small a target as possible while pounding away at the British in an attempt to force them in making moral checks and driving them from the field due to losses. The Italians on the right flank managed to dig in but those on the left were having a difficult time of it. The Italian Air Force failed to make an appearance and the Italians fired their two artillery batteries but failed to cause any significant damage.
On turn two both sides continued with their strategy. The British were occupying the town on their right while posing a threat on their left. The Italians were trying to dig in their troops and inflict damage from afar with their artillery. This turn the Italian Air Force arrived to do its duty but were driven off by the RAF (rare as fairies).
Here is a shot of the game at turn three from the British side of the table. Note the time delay as the author forgot to take pictures of the previous turns even though he remembered to set up the camera the day before.

 A better shot of the village.
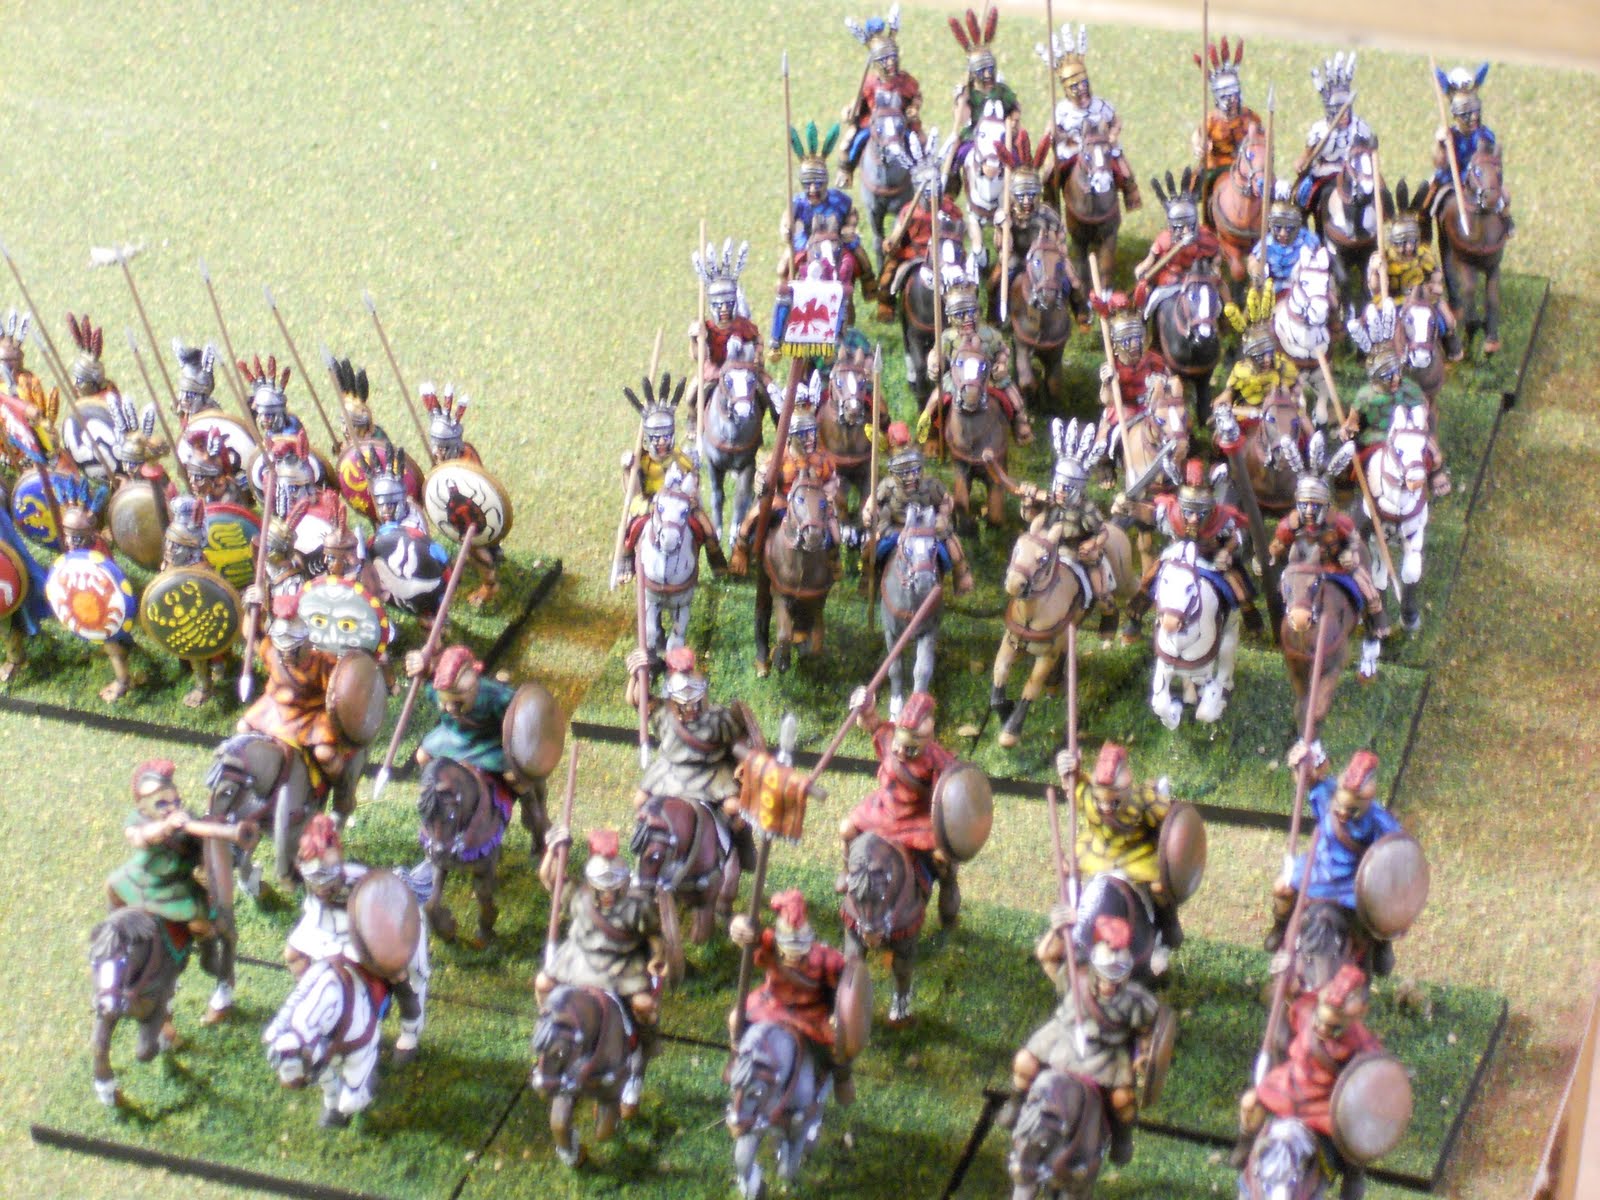
 In this picture you can see a force of British tanks rushing to attack the Italian platoon of M11/39 tanks represented in our game by L6 light tanks. Also you can see the other main force of Italians holding their right flank. A Bersaglieri platoon with 4 47mm anti tank guns and the 75mm artillery in support. On close examination I see that this picture is at the end of turn three after the Italian commander of the right flank, Eric, inflicted a devastating barrage of fire from his anti tank guns at the British armour crossing his path. He destroyed all but 1 tank in this show of Italian marksmanship. Sadly though on the Italian left flank commander Greg Jr. was having a devil of a time getting his troops to dig in. Something about brave men do not cower in the dirt. The Air force arrived on time only to be driven off by those pesky British fighters.
 Here we see the Italian right flank with the platoon of M13/40 tanks advancing on the objective guarded by a British Cruiser platoon. Their advance started out well and they suppressed their foe by causing the tank crews to bail out but failed in destroying any vehicles.
 Here we jump to turn 5. The British advance out of the village to bring their strategy to a successful conclusion. The British tanks produced a tremendous volume of fire that decimated the Italian left flank. The anti tank guns were destroyed, the Bersaglieri company blasted away, the light AA platoon gone, with only the brave company commander and his guns left standing!
 Here the platoon of M11/39 tanks make last ditch effort to destroy the British HQ but to no avail. All this time Eric had been trying to support his brother officer with artillery fire but it was not enough.
 Even though more than half of the Italian company was still intact and very capable of carrying on the fight, they were forced to admit defeat as the British occupied and held the objective on their right as there were not any Italian forces close enough to challenge them.
All in all a great game. My sons (Greg and Eric) had played their first Flames of War game but they are not strangers to gaming by any means having grown up on roll playing and board games. Alas, my losing streak remains intact. A very well played game by Wendel and Bill who are each great gamers as well as good sports. Maybe I will have better luck next time.
Greg
We had another Flames of War game on Sunday. This was the early war in North Africa, British vs Italian.
The British players commanded an Armoured Regiment of about 2500 points. Wendel and Bill were the two British commanders. Bill was in charge of the British right flank and Wendel was in charge of the left flank.
The Italian players fielded a Bersaglieri Company of about 1925 points. Greg Jr., Eric and Greg Sr. (myself) commanded the Italian forces. Eric commanded the Italian right flank with the second in command while Gregory commanded the left flank as overall commander and I handled the mobile forces.
The scenario was a free for all and the British were the attackers as they were armoured and the Italians were an infantry company. Our table had sparse terrain as we were trying to portray the desert area of Lybia near the Egyptian border. There was a village on the Italian left flank with a wadi running across the center of the table.
Here is a rundown of the forces involved:
British - Tank Regiment
Regimental HQ - 4 A-10 tanks
Heavy Cruiser company - 2 platoons of A-13 tanks with 3 tanks in each platoon
Light Cruiser company - HQ platoon with 1 A-10 tank and 2 A-9 tanks and 2 companies of 3 A-9 tanks each
Light Armoured company - 3 platoons of MkIV tanks 4 in the HQ platoon and 3 tanks in each of the other platoons
Anti Tank Platoon - 2 25lb guns in portee
Royal Horse Artillery Troop - 4 25lb guns
Italians - Bersaglieri Company
HQ with attached Solothurn A/T rifle
2 platoons of Bersaglieri infantry upgraded to Rifle/MG teams
Bersaglieri MG platoon
Bersaglieri A/T platoon with 3 47mm A/T guns
Bersaglieri Mortar platoon with 3 tubes
Cari Platoon of 5 M13/40 medium tanks
Medium Tank platoon with 5 M11/39 tanks
Demolisher Platoon
Cannon Battery - 4 75/27 guns with observer
Howitzer Battery - 4 105/28 guns with observer
A/T platoon - 4 47mm A/T guns
Light AA platoon - 2 20/65 guns portee
Limited air support - Fiat Falco with bombs
The British had the first move and used it to cover their advance into a small village on their right flank. They also fired the Royal Horse artillery in an effort to suppress the Italian Guns on that flank. This was part of their overall strategy to sweep the Italian left flank and take the objective that was there. The British fire was ineffective.
The Italians tried to dig in their infantry and man packed guns on their first turn as the British had not presented any targets for them. The Italian strategy for this game was to present as small a target as possible while pounding away at the British in an attempt to force them in making moral checks and driving them from the field due to losses. The Italians on the right flank managed to dig in but those on the left were having a difficult time of it. The Italian Air Force failed to make an appearance and the Italians fired their two artillery batteries but failed to cause any significant damage.
On turn two both sides continued with their strategy. The British were occupying the town on their right while posing a threat on their left. The Italians were trying to dig in their troops and inflict damage from afar with their artillery. This turn the Italian Air Force arrived to do its duty but were driven off by the RAF (rare as fairies).
Here is a shot of the game at turn three from the British side of the table. Note the time delay as the author forgot to take pictures of the previous turns even though he remembered to set up the camera the day before.

Here you can see the British in the town on their right and the placement of their artillery and anti tank guns. Also you may note the placement of the Italian troops across the way. On the British right is a Bersaglieri platoon with 3 anti tank guns with the mortars and 105 guns in support. Also the Italian commander is in this position as well.


All in all a great game. My sons (Greg and Eric) had played their first Flames of War game but they are not strangers to gaming by any means having grown up on roll playing and board games. Alas, my losing streak remains intact. A very well played game by Wendel and Bill who are each great gamers as well as good sports. Maybe I will have better luck next time.
Greg